Category: Power Wheelchair
Posted by 2025-12-22 11:12
hoyer lift for home use
Complete Guide to Home Use of Hoyer Lift: Empowering In-Home Care and Ensuring Safe Transfers
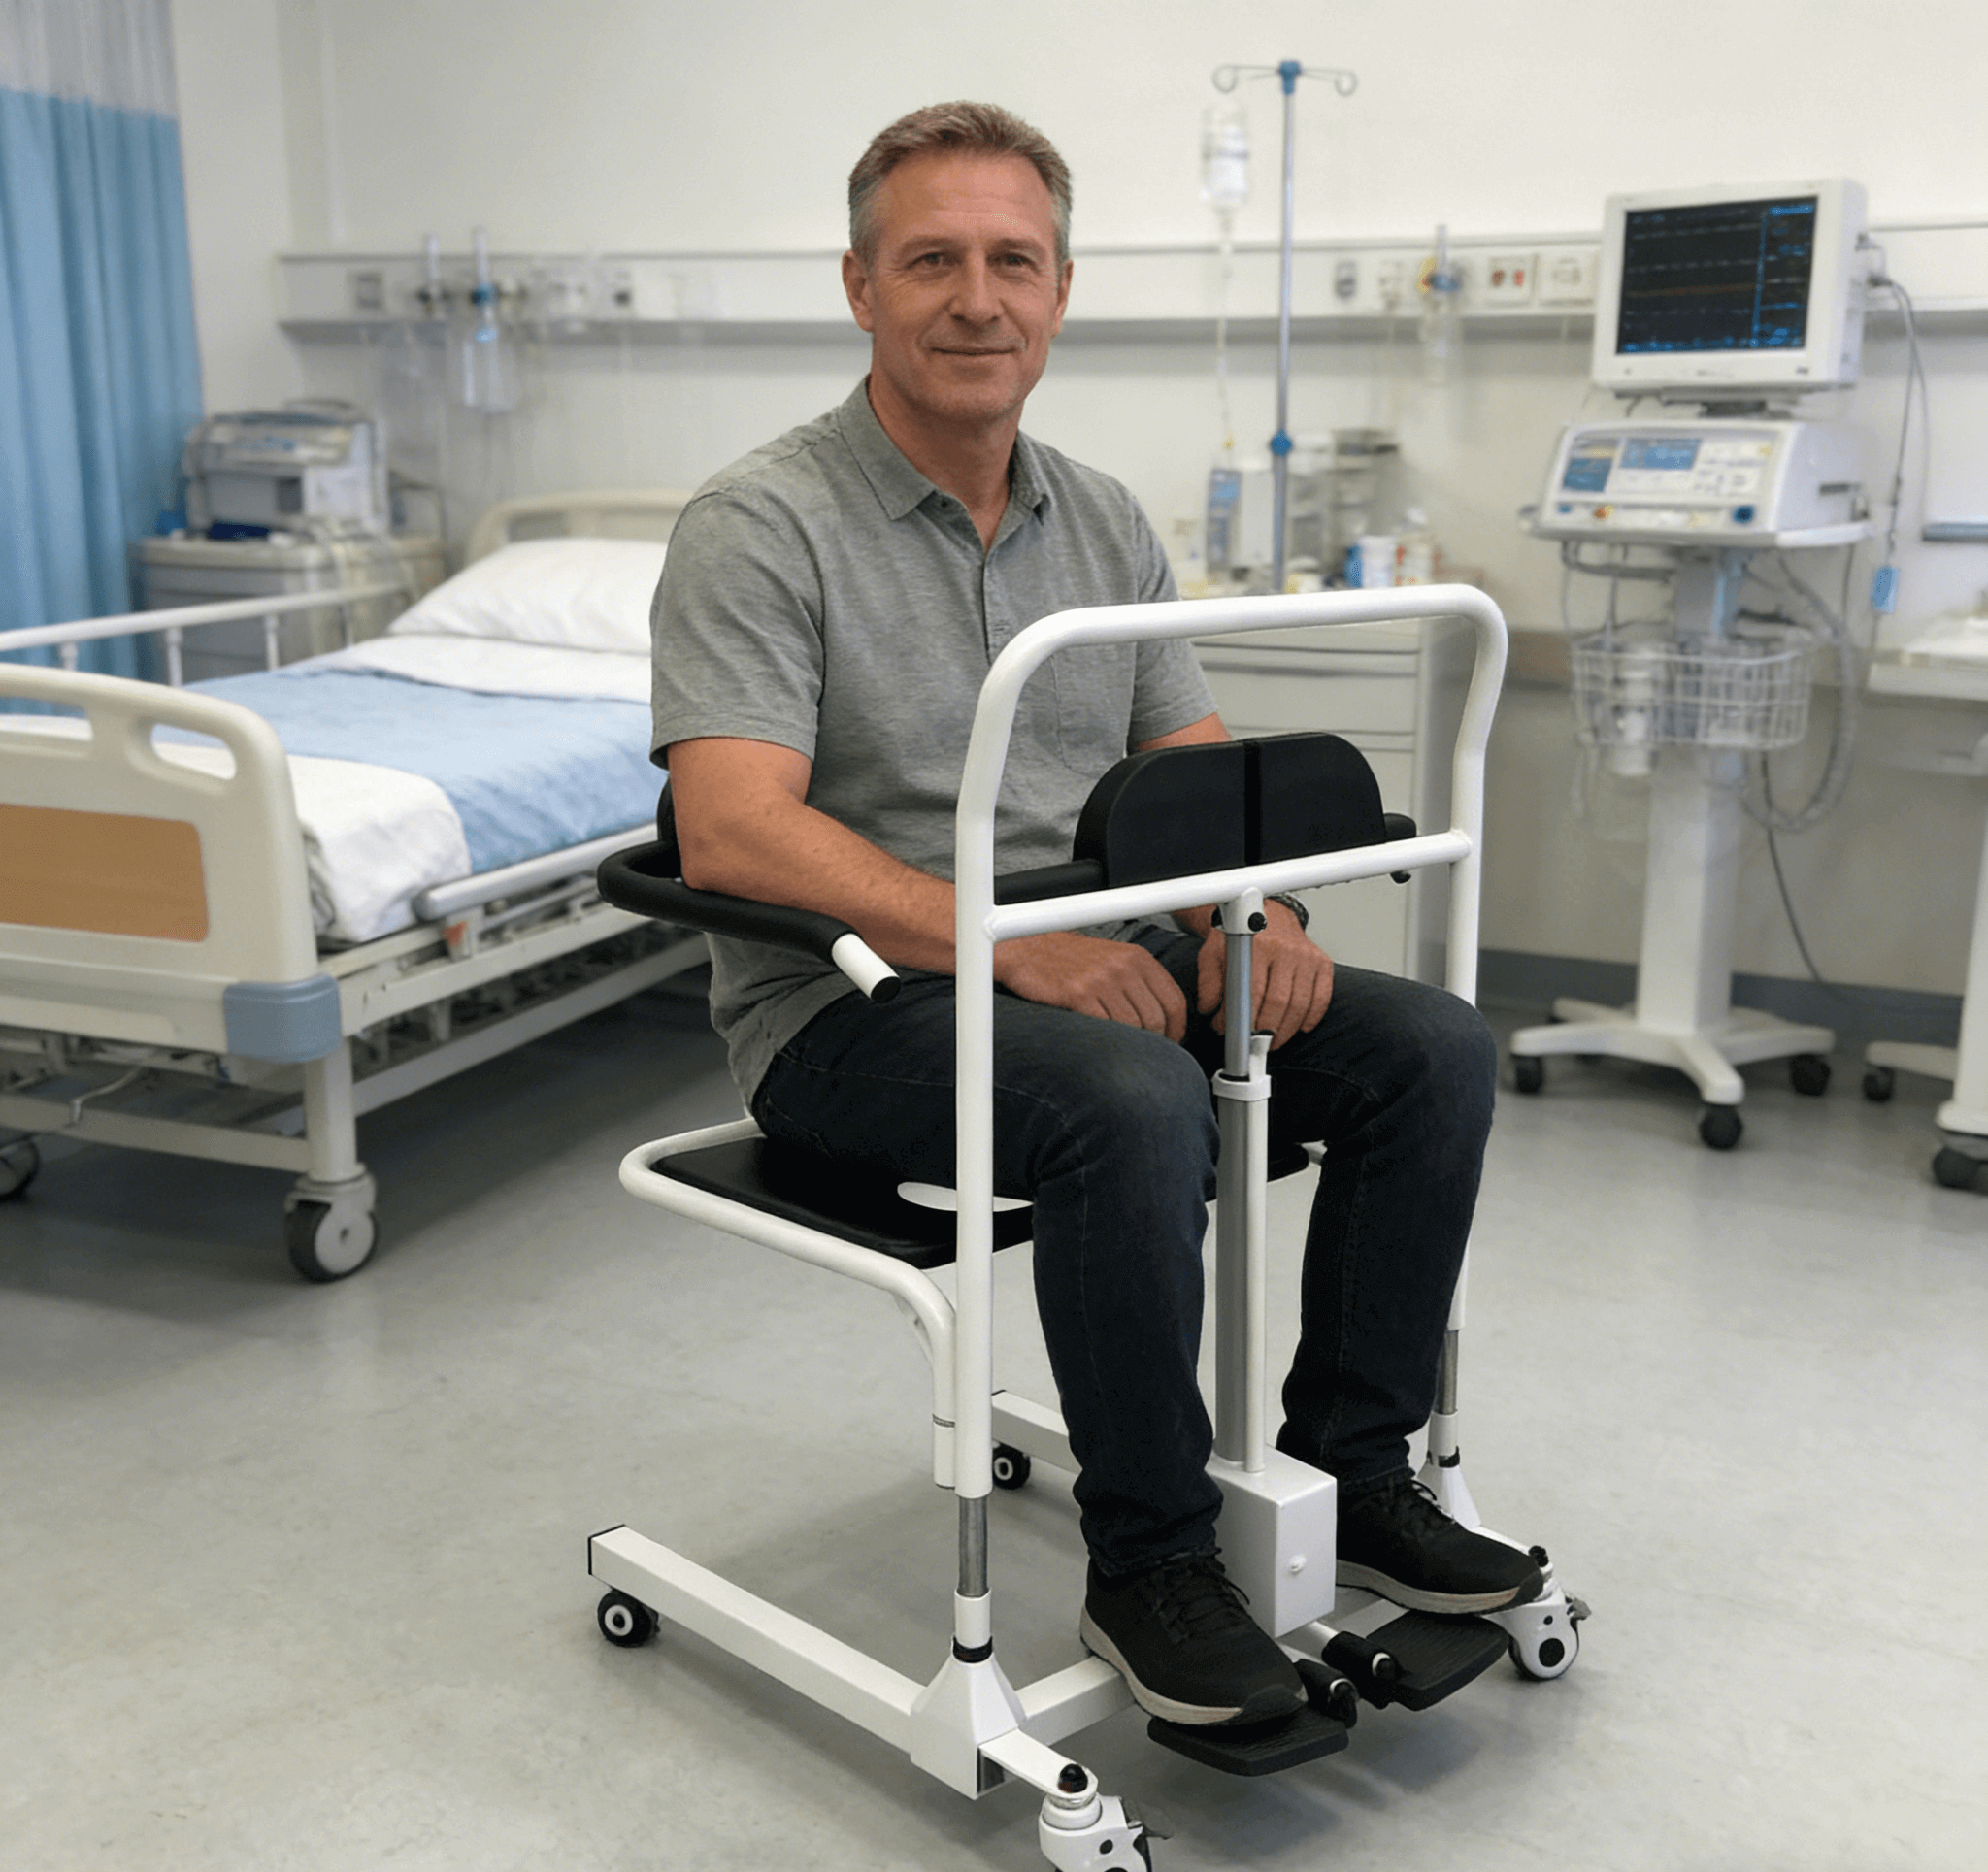
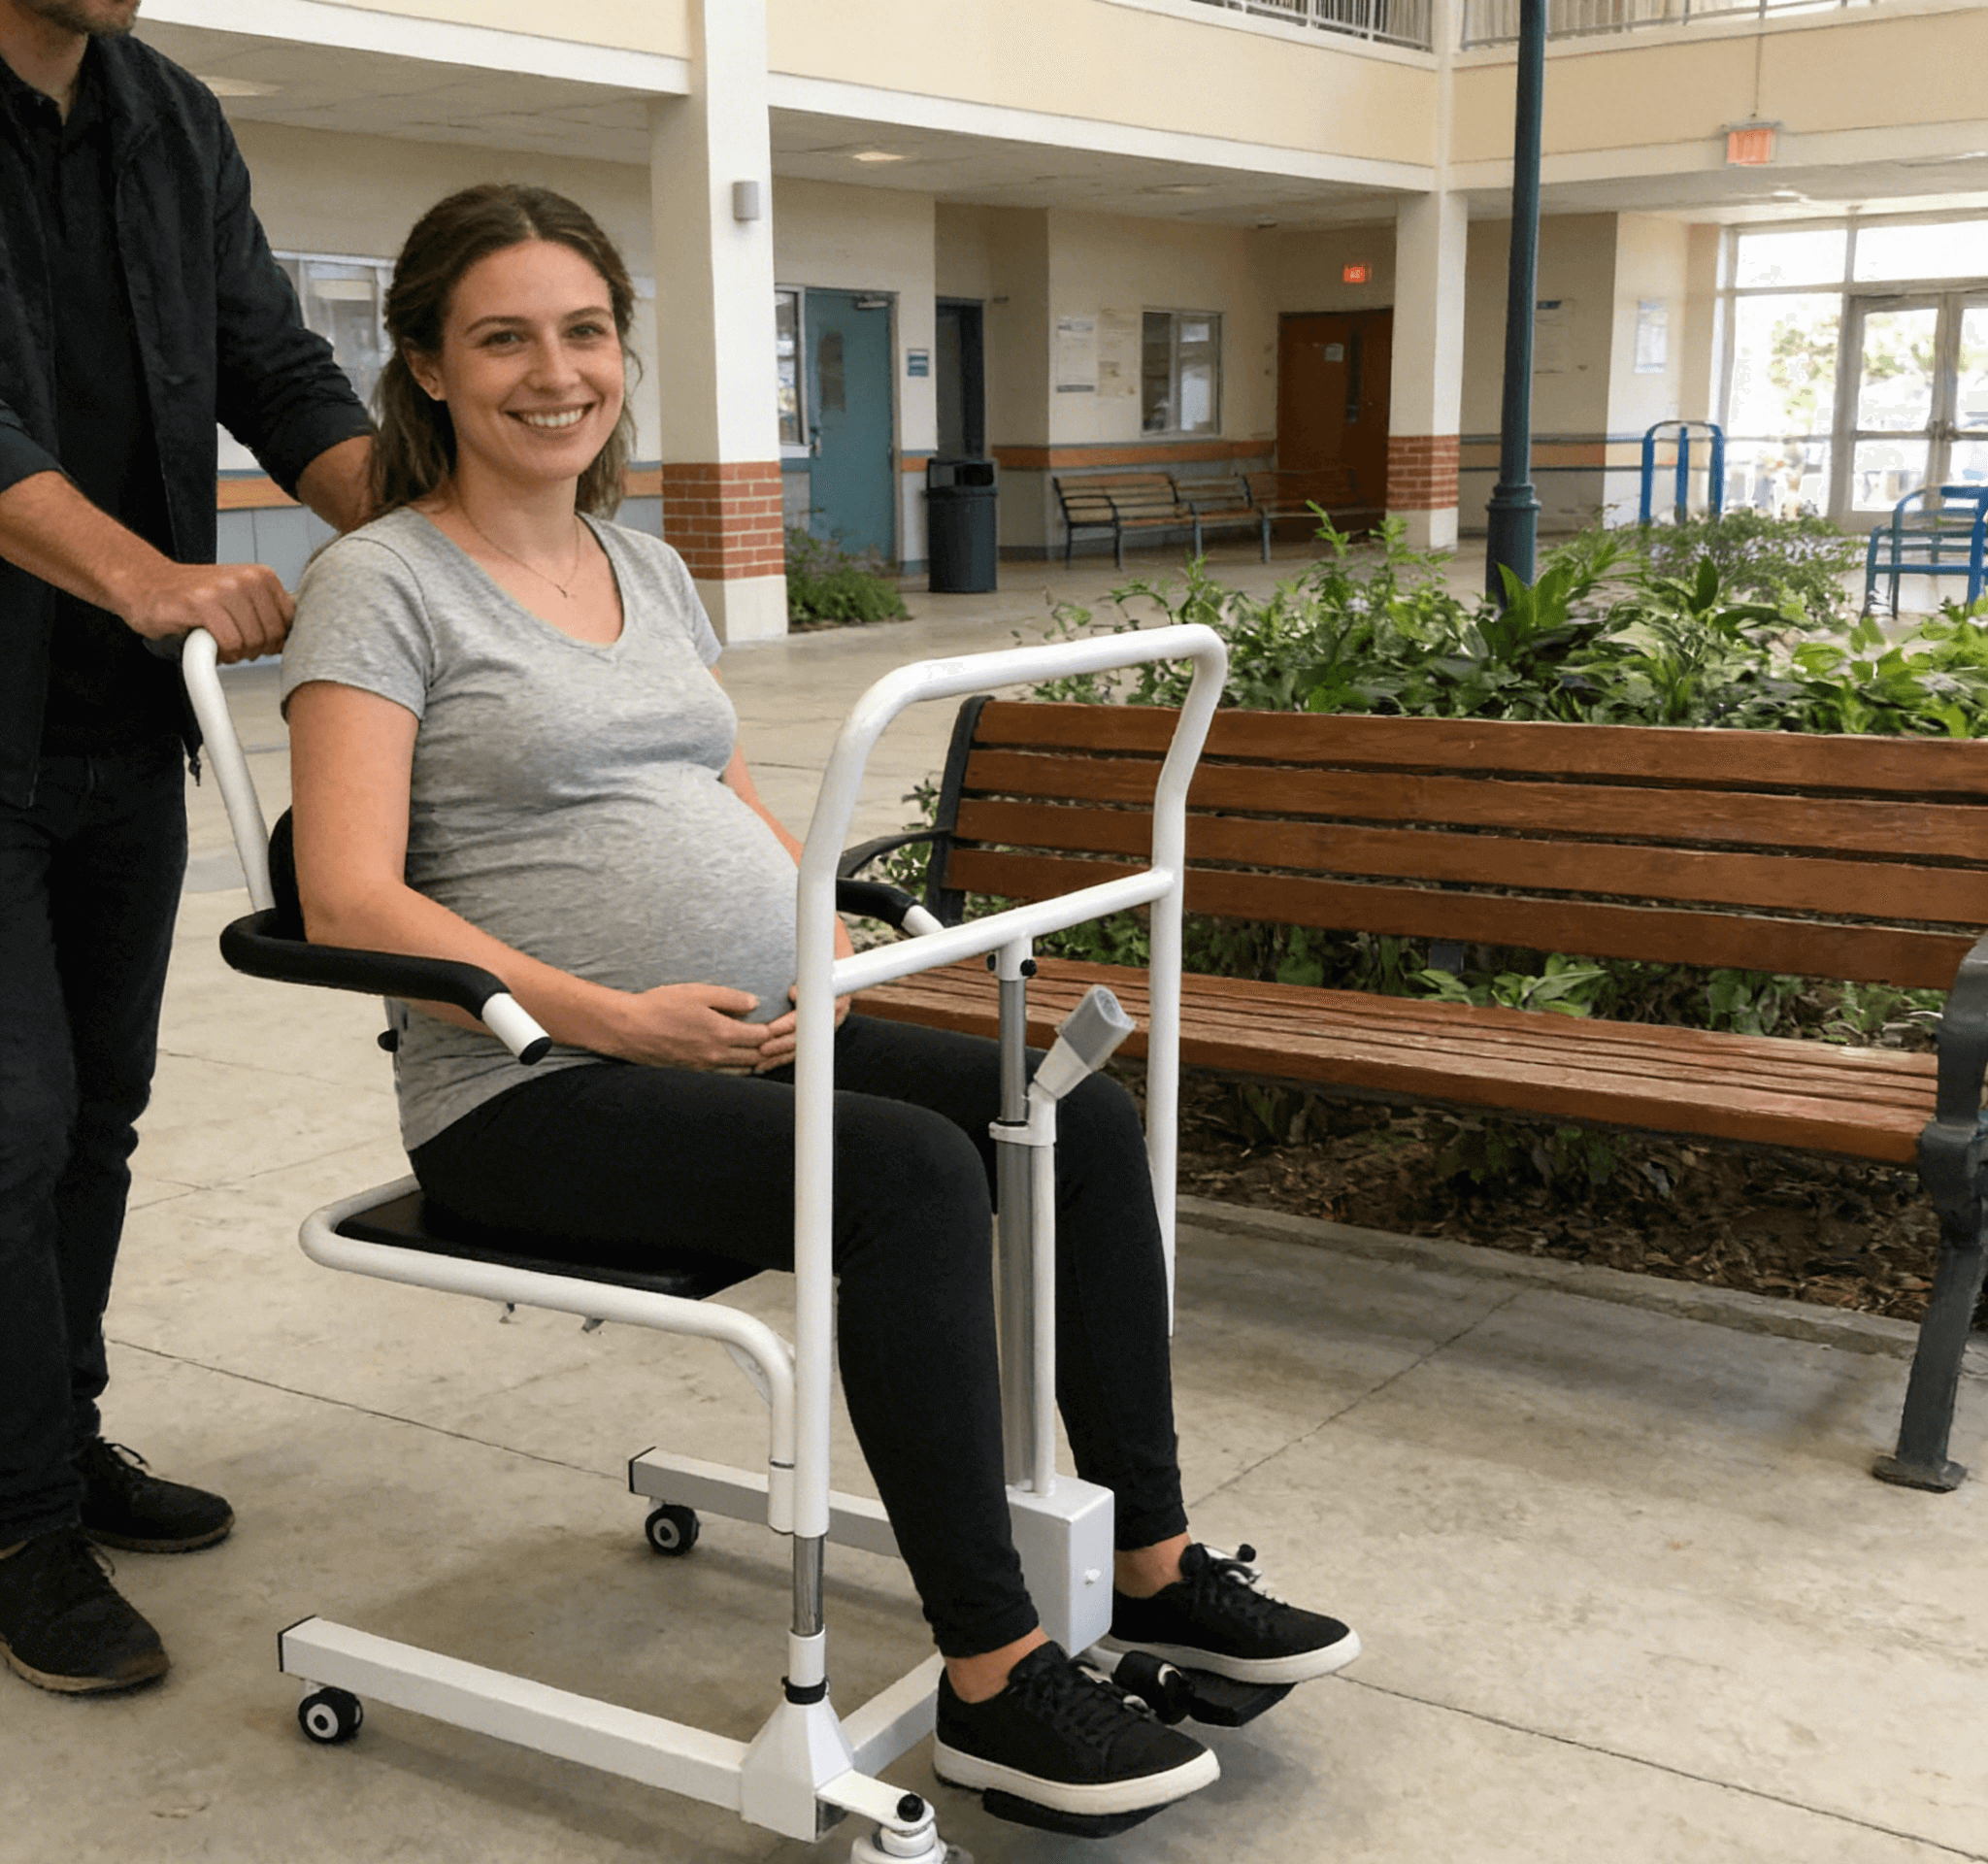
For families needing to care for family members with limited mobility at home—such as the elderly, post-surgery recovery patients, or people with disabilities—a Hoyer Lift (a hydraulic patient lift) is a revolutionary tool. It not only greatly reduces the physical burden on caregivers but also enhances the dignity and safety of care recipients. This guide provides a comprehensive overview of how to use a Hoyer Lift safely and effectively in a home environment.
I. Why Do Families Need a Hoyer Lift for Care?
Prevent Caregiver Injuries
Manually lifting or transferring a person is extremely strenuous physical work, which can easily cause permanent injuries to the caregiver’s waist, back, and shoulders. The Hoyer Lift uses mechanical force to complete transfers, protecting the caregiver’s health.
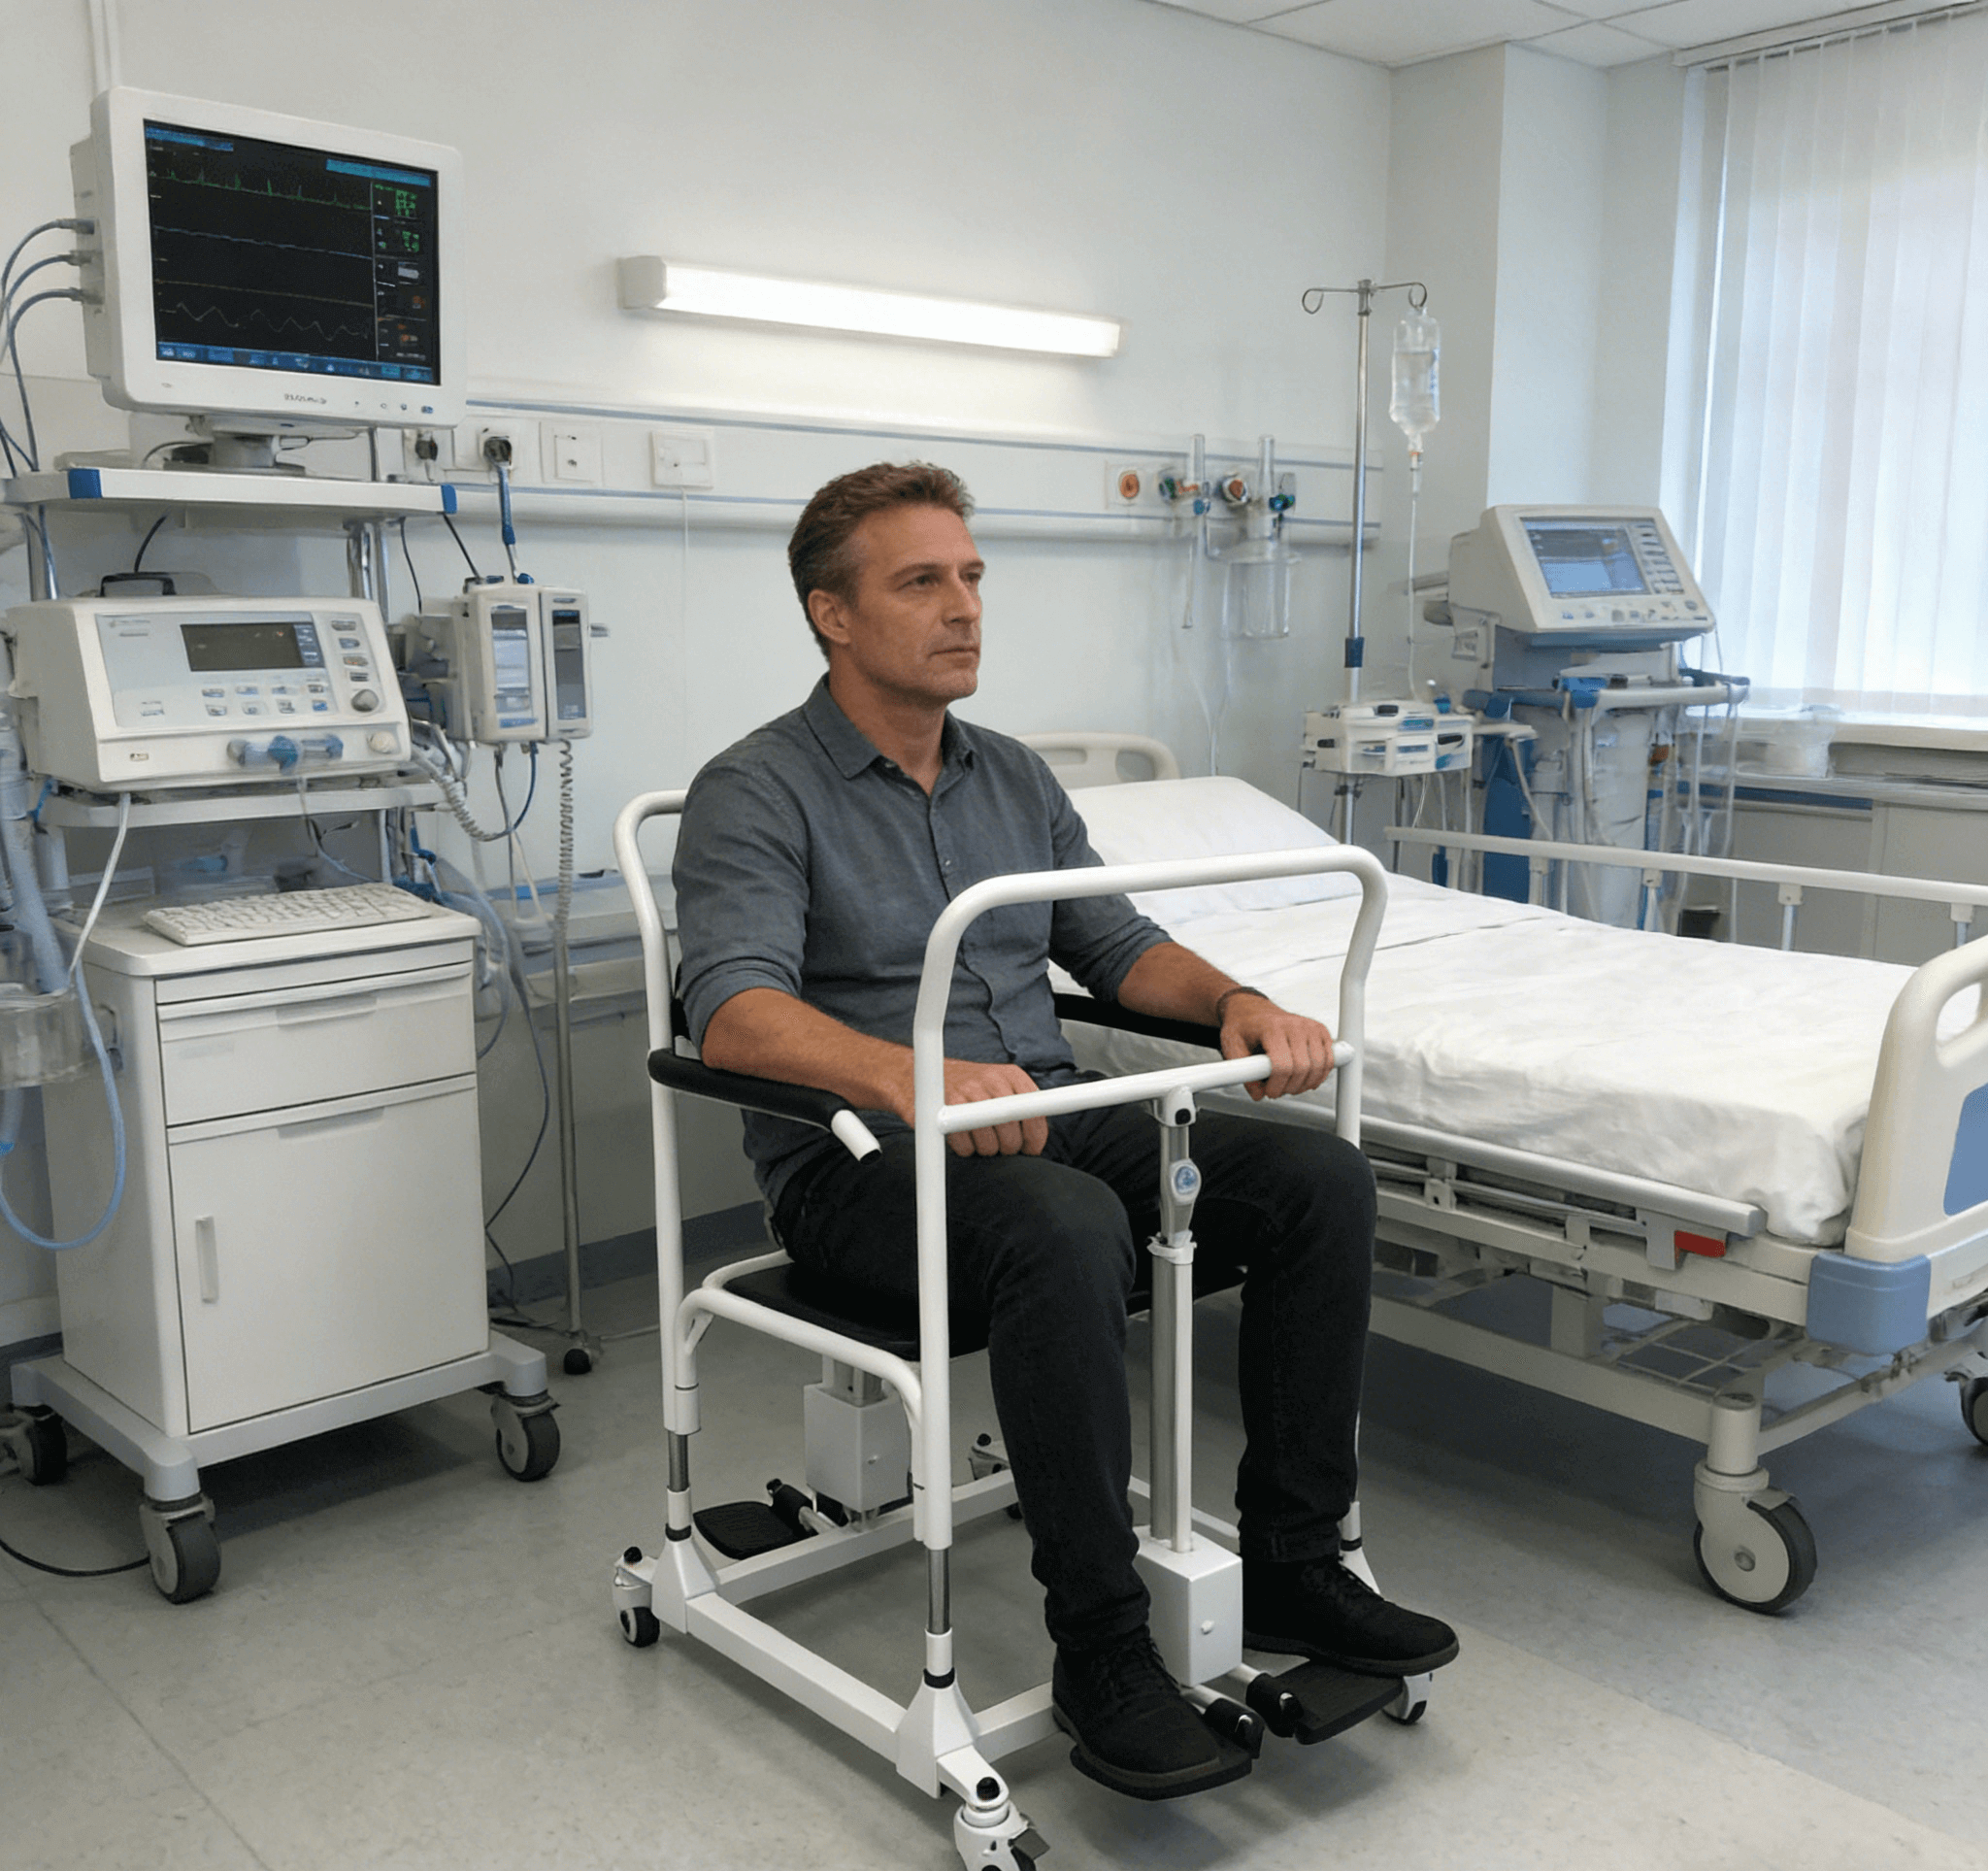
Ensure Care Recipient Safety
During manual transfers, the risk of slipping and falling is high. The Hoyer Lift provides smooth, controlled lifting and lowering, maximizing the safety of care recipients and preventing accidents.
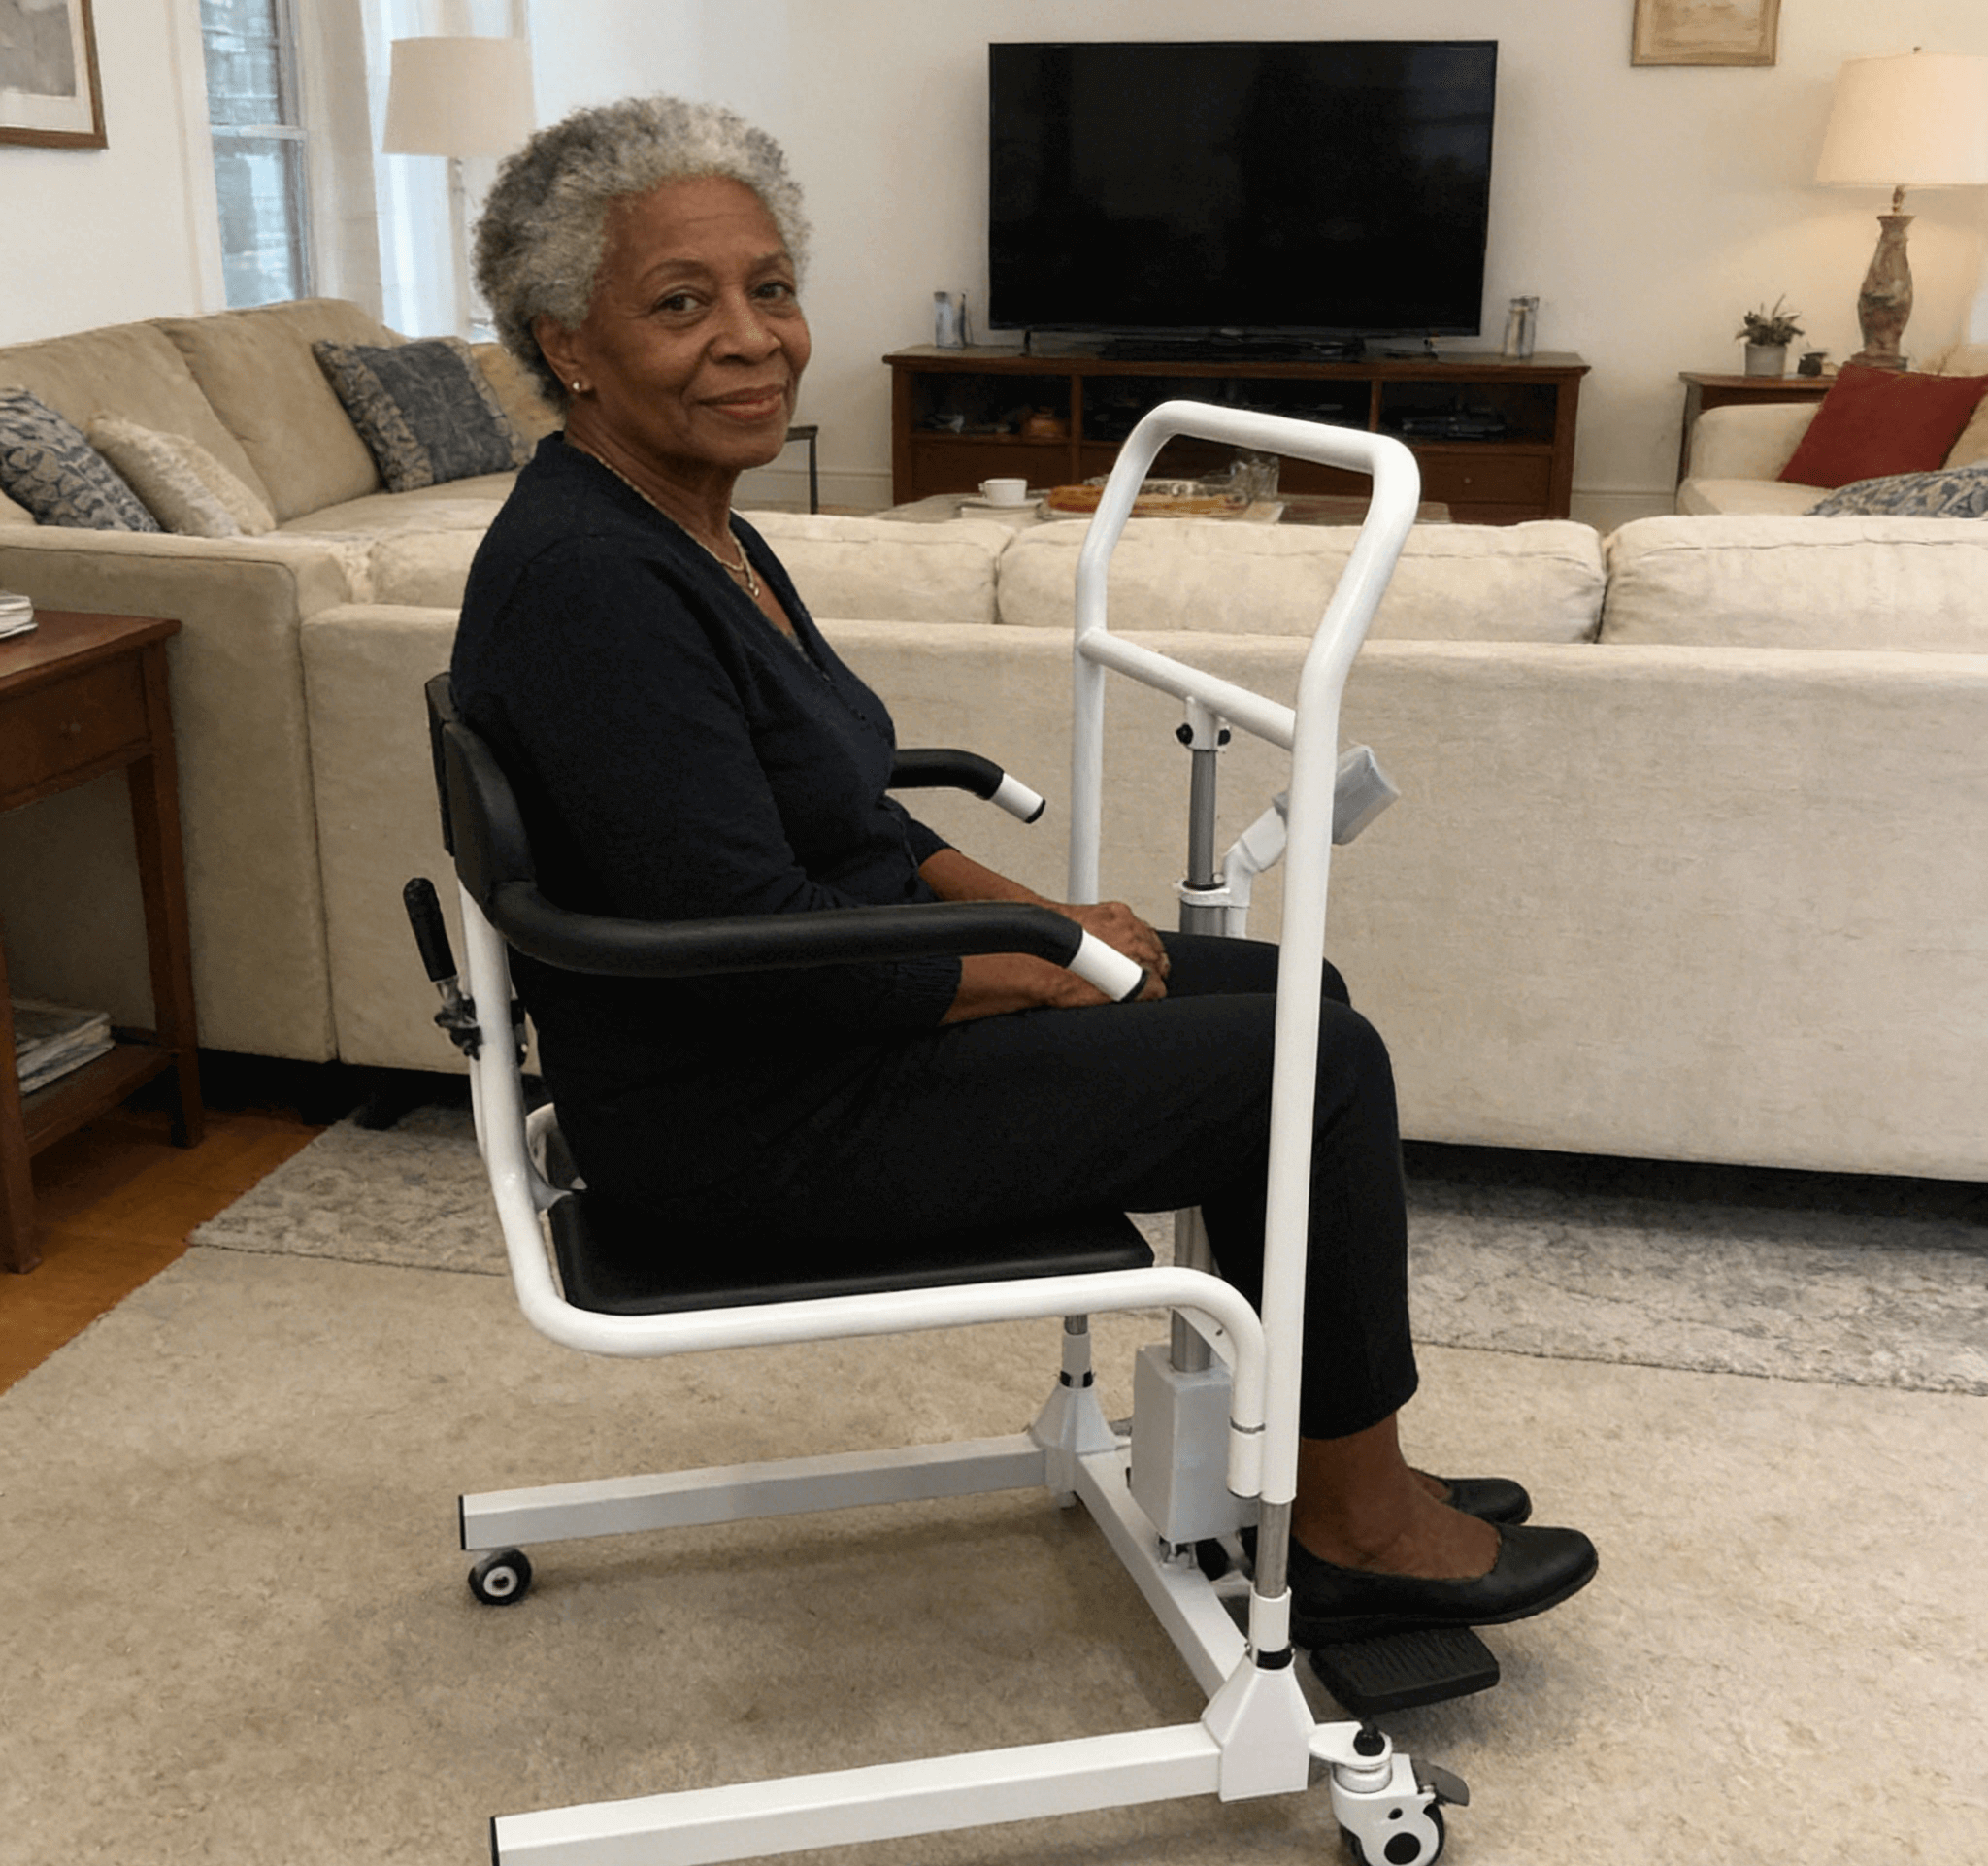
Preserve Care Recipient Dignity
For care recipients who are overweight or fully dependent on others, the Hoyer Lift reduces body exposure and awkward pulling during transfers, preserving their dignity.
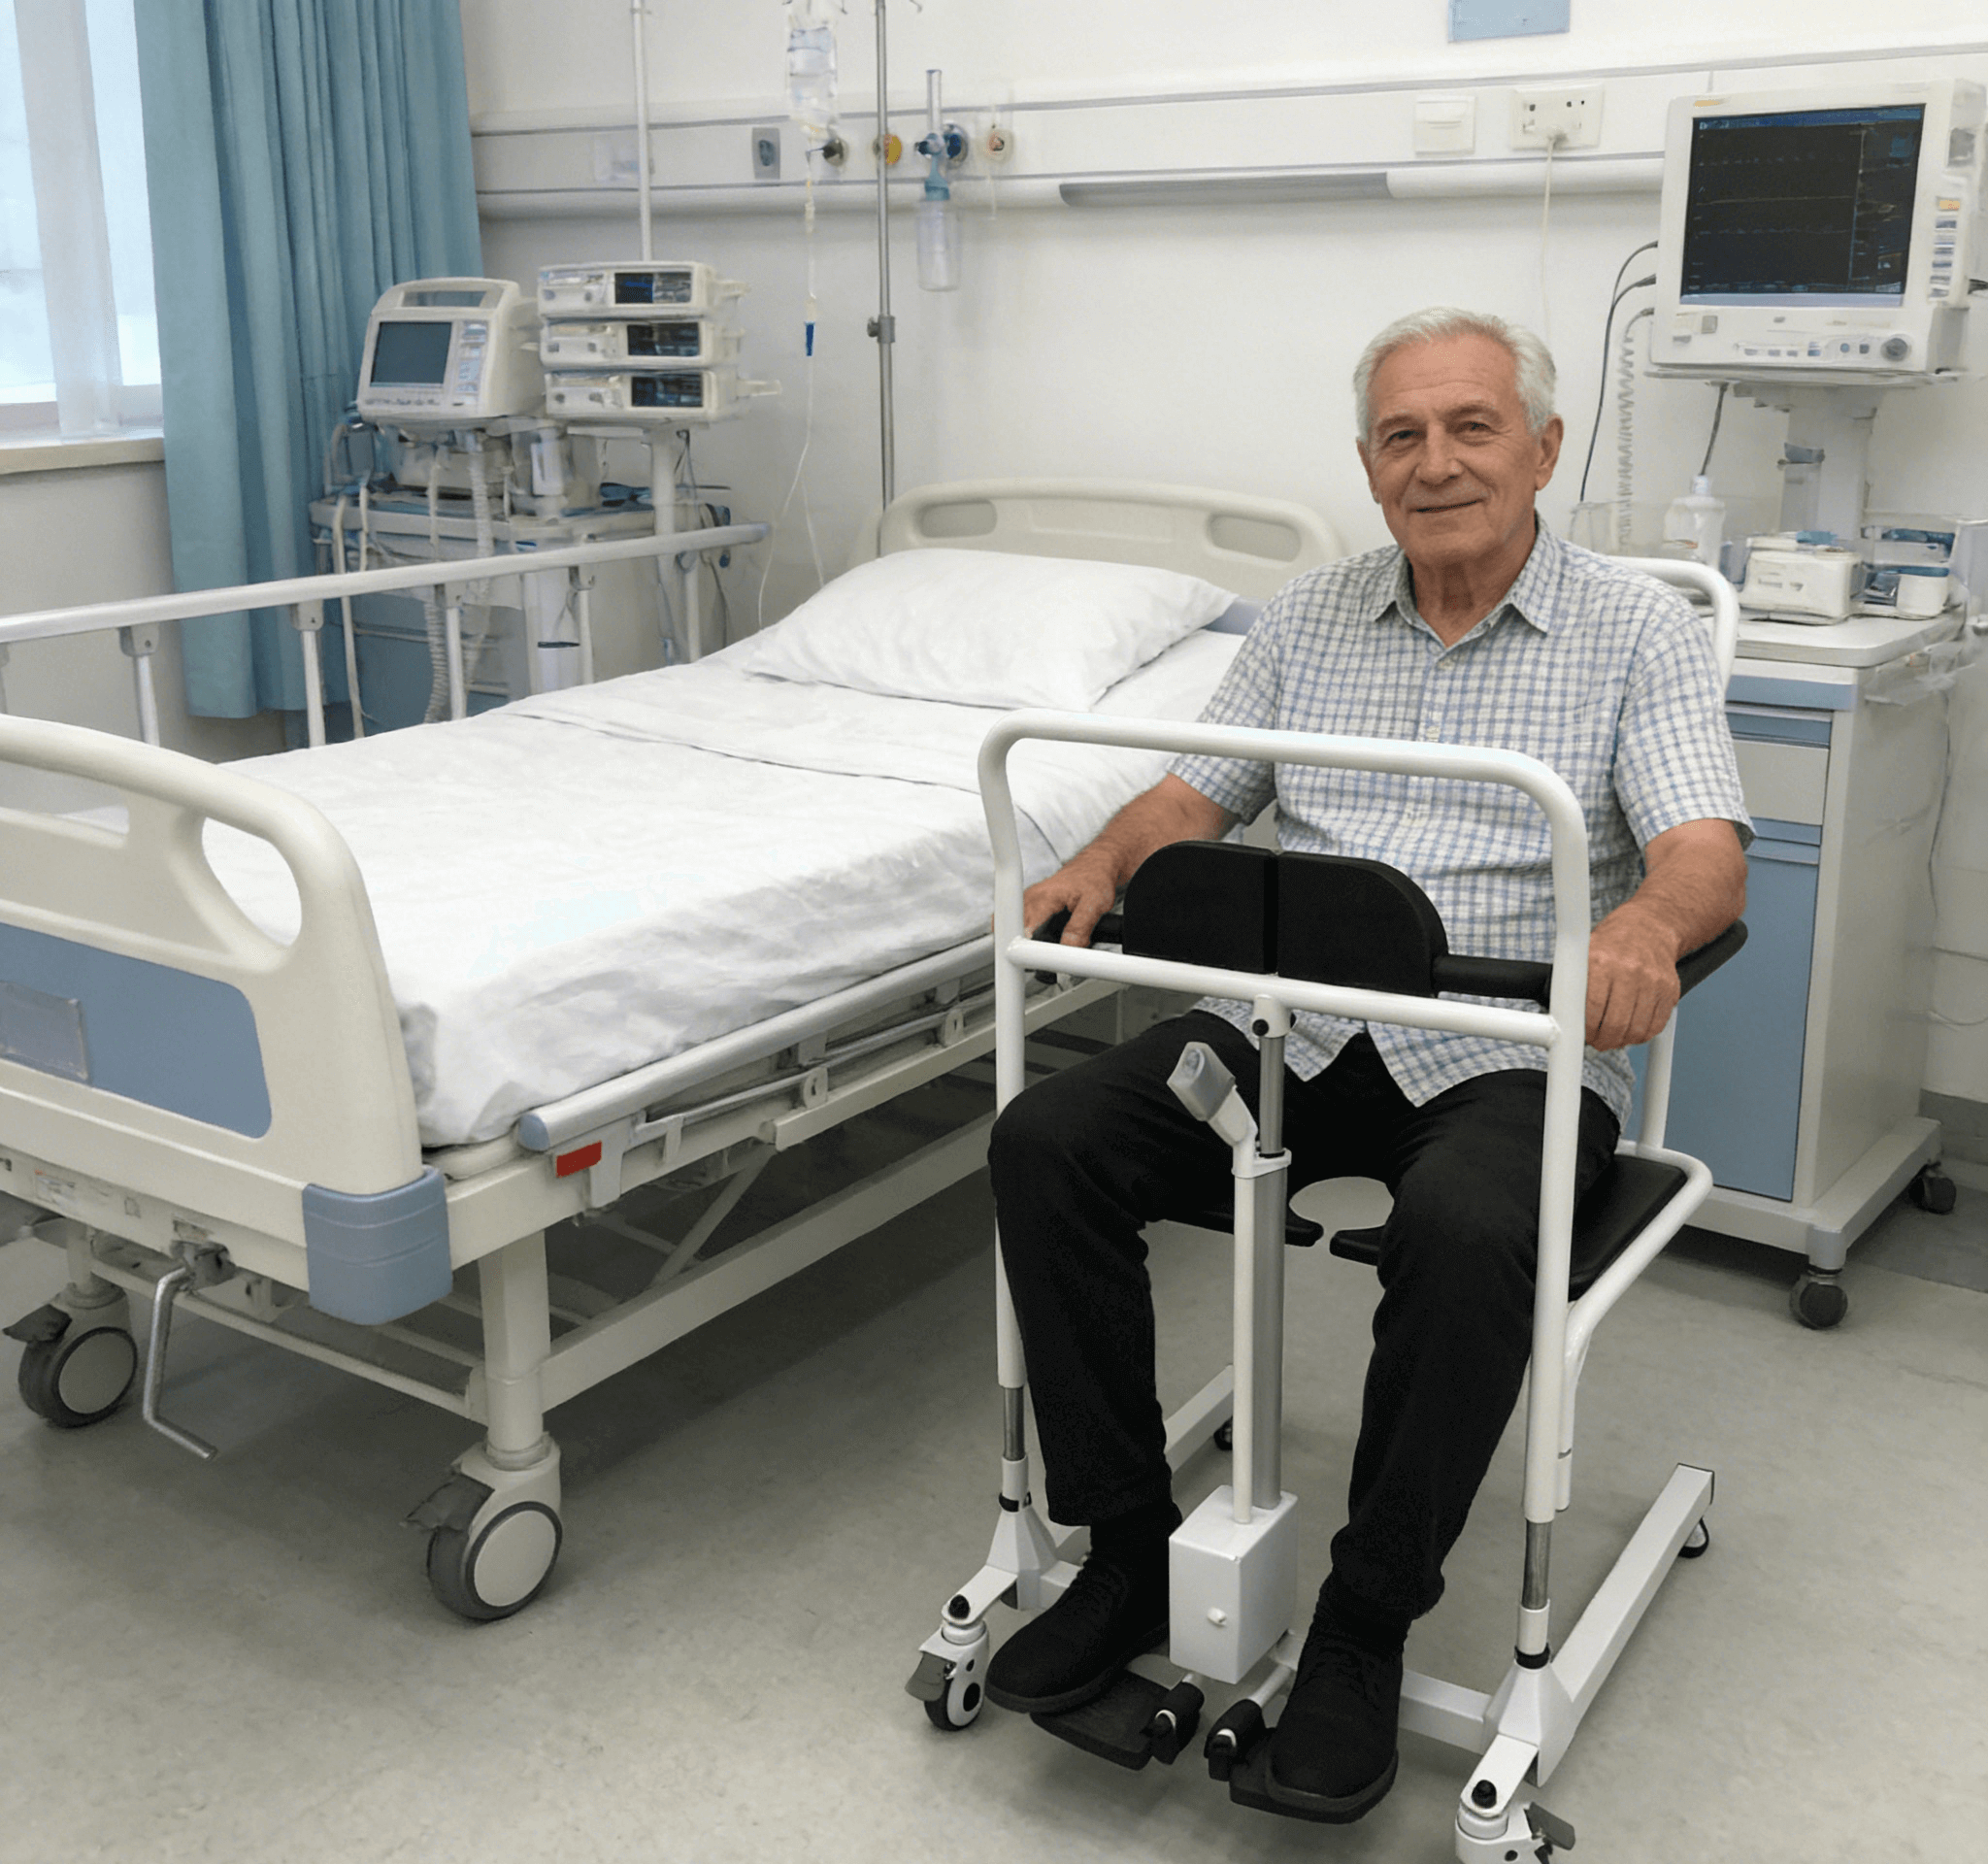
Improve Care Efficiency and Confidence
Using appropriate tools can make the originally arduous transfer task easier, reduce the caregiver’s fear and anxiety, and strengthen their confidence in independent caregiving.
II. How to Choose the Right Hoyer Lift for Home Use?
Before making a choice, it is recommended to consult an occupational therapist or a professional medical equipment supplier. Key considerations include:
Weight Capacity
Select a model based on the care recipient’s weight, with a certain safety margin (e.g., choose a model with a capacity 20–25 kg higher than the actual weight).
Boom Type
Fixed Boom: More affordable, suitable for small spaces and simple transfer routes.
Telescoping Boom: More expensive but offers a larger lateral movement range, facilitating precise positioning between beds and wheelchairs—especially ideal for narrow spaces.
Power Type
Hydraulic: Most common for home use, lifted/lowered via manual pumping, stable, reliable, and easy to maintain.
Electric: Lifted/lowered via button control, more labor-saving. Suitable for caregivers with limited strength or frequent transfer needs, but it is more expensive and requires charging.
Base Design
H-Shaped Base: Offers the best stability but requires sufficient space under the bed for the base legs to extend into.
U-Shaped Base: Can approach the care recipient from the side or front of the bed, with fewer restrictions on bed types.
Equipment Size and Weight
Consider the width of home corridors, door frame dimensions, and storage space. Ensure the lift can pass through all necessary areas smoothly.
III. Standard Steps for Home Use of Hoyer Lift
Safety first! Always follow the equipment manual and receive professional training.
Step 1: Preparation
Inspect the Equipment: Check for wear or tears on the sling, confirm all hooks are locked, and verify that the hydraulic rod or power supply is functioning properly.
Clear the Environment: Ensure the transfer path has a flat, dry floor with no obstacles.
Communicate with the Care Recipient: Clearly explain each step you will take to help them mentally prepare and feel at ease.
Step 2: Position the Lift
Extend the lift’s base legs securely under the bed (or chair) and press the brakes to lock the wheels.
Ensure the lift forms an angle (usually 45 degrees) with the bed or chair for optimal stability.
Step 3: Place the Sling
This is the most critical step. Based on the sling type (e.g., full-body sling, commode/shower sling), properly place it under the care recipient following instructions.
Ensure the sling is positioned correctly with no wrinkles, and that load-bearing points (such as under the arms and at the thigh roots) are well-supported.
Step 4: Connect the Hooks
Attach the D-rings on the sling to the lift’s hooks.
Always follow the principle of “front to back, color matching” (if the sling is color-coded) to ensure the care recipient remains balanced and in a comfortable sitting or lying position when lifted.
Double-check that all hooks are fully locked.
Step 5: Lift and Transfer
Lift Slowly: Operate the hydraulic rod or electric button smoothly to lift the care recipient slightly off the bed. Pause to confirm stability and that the care recipient feels comfortable.
Adjust Height: Continue lifting to a height sufficient to avoid hitting any obstacles during movement.
Move Cautiously: Release the brakes and push the lift smoothly. When pushing, it is best to walk backward to monitor the path ahead. Move slowly and steadily.
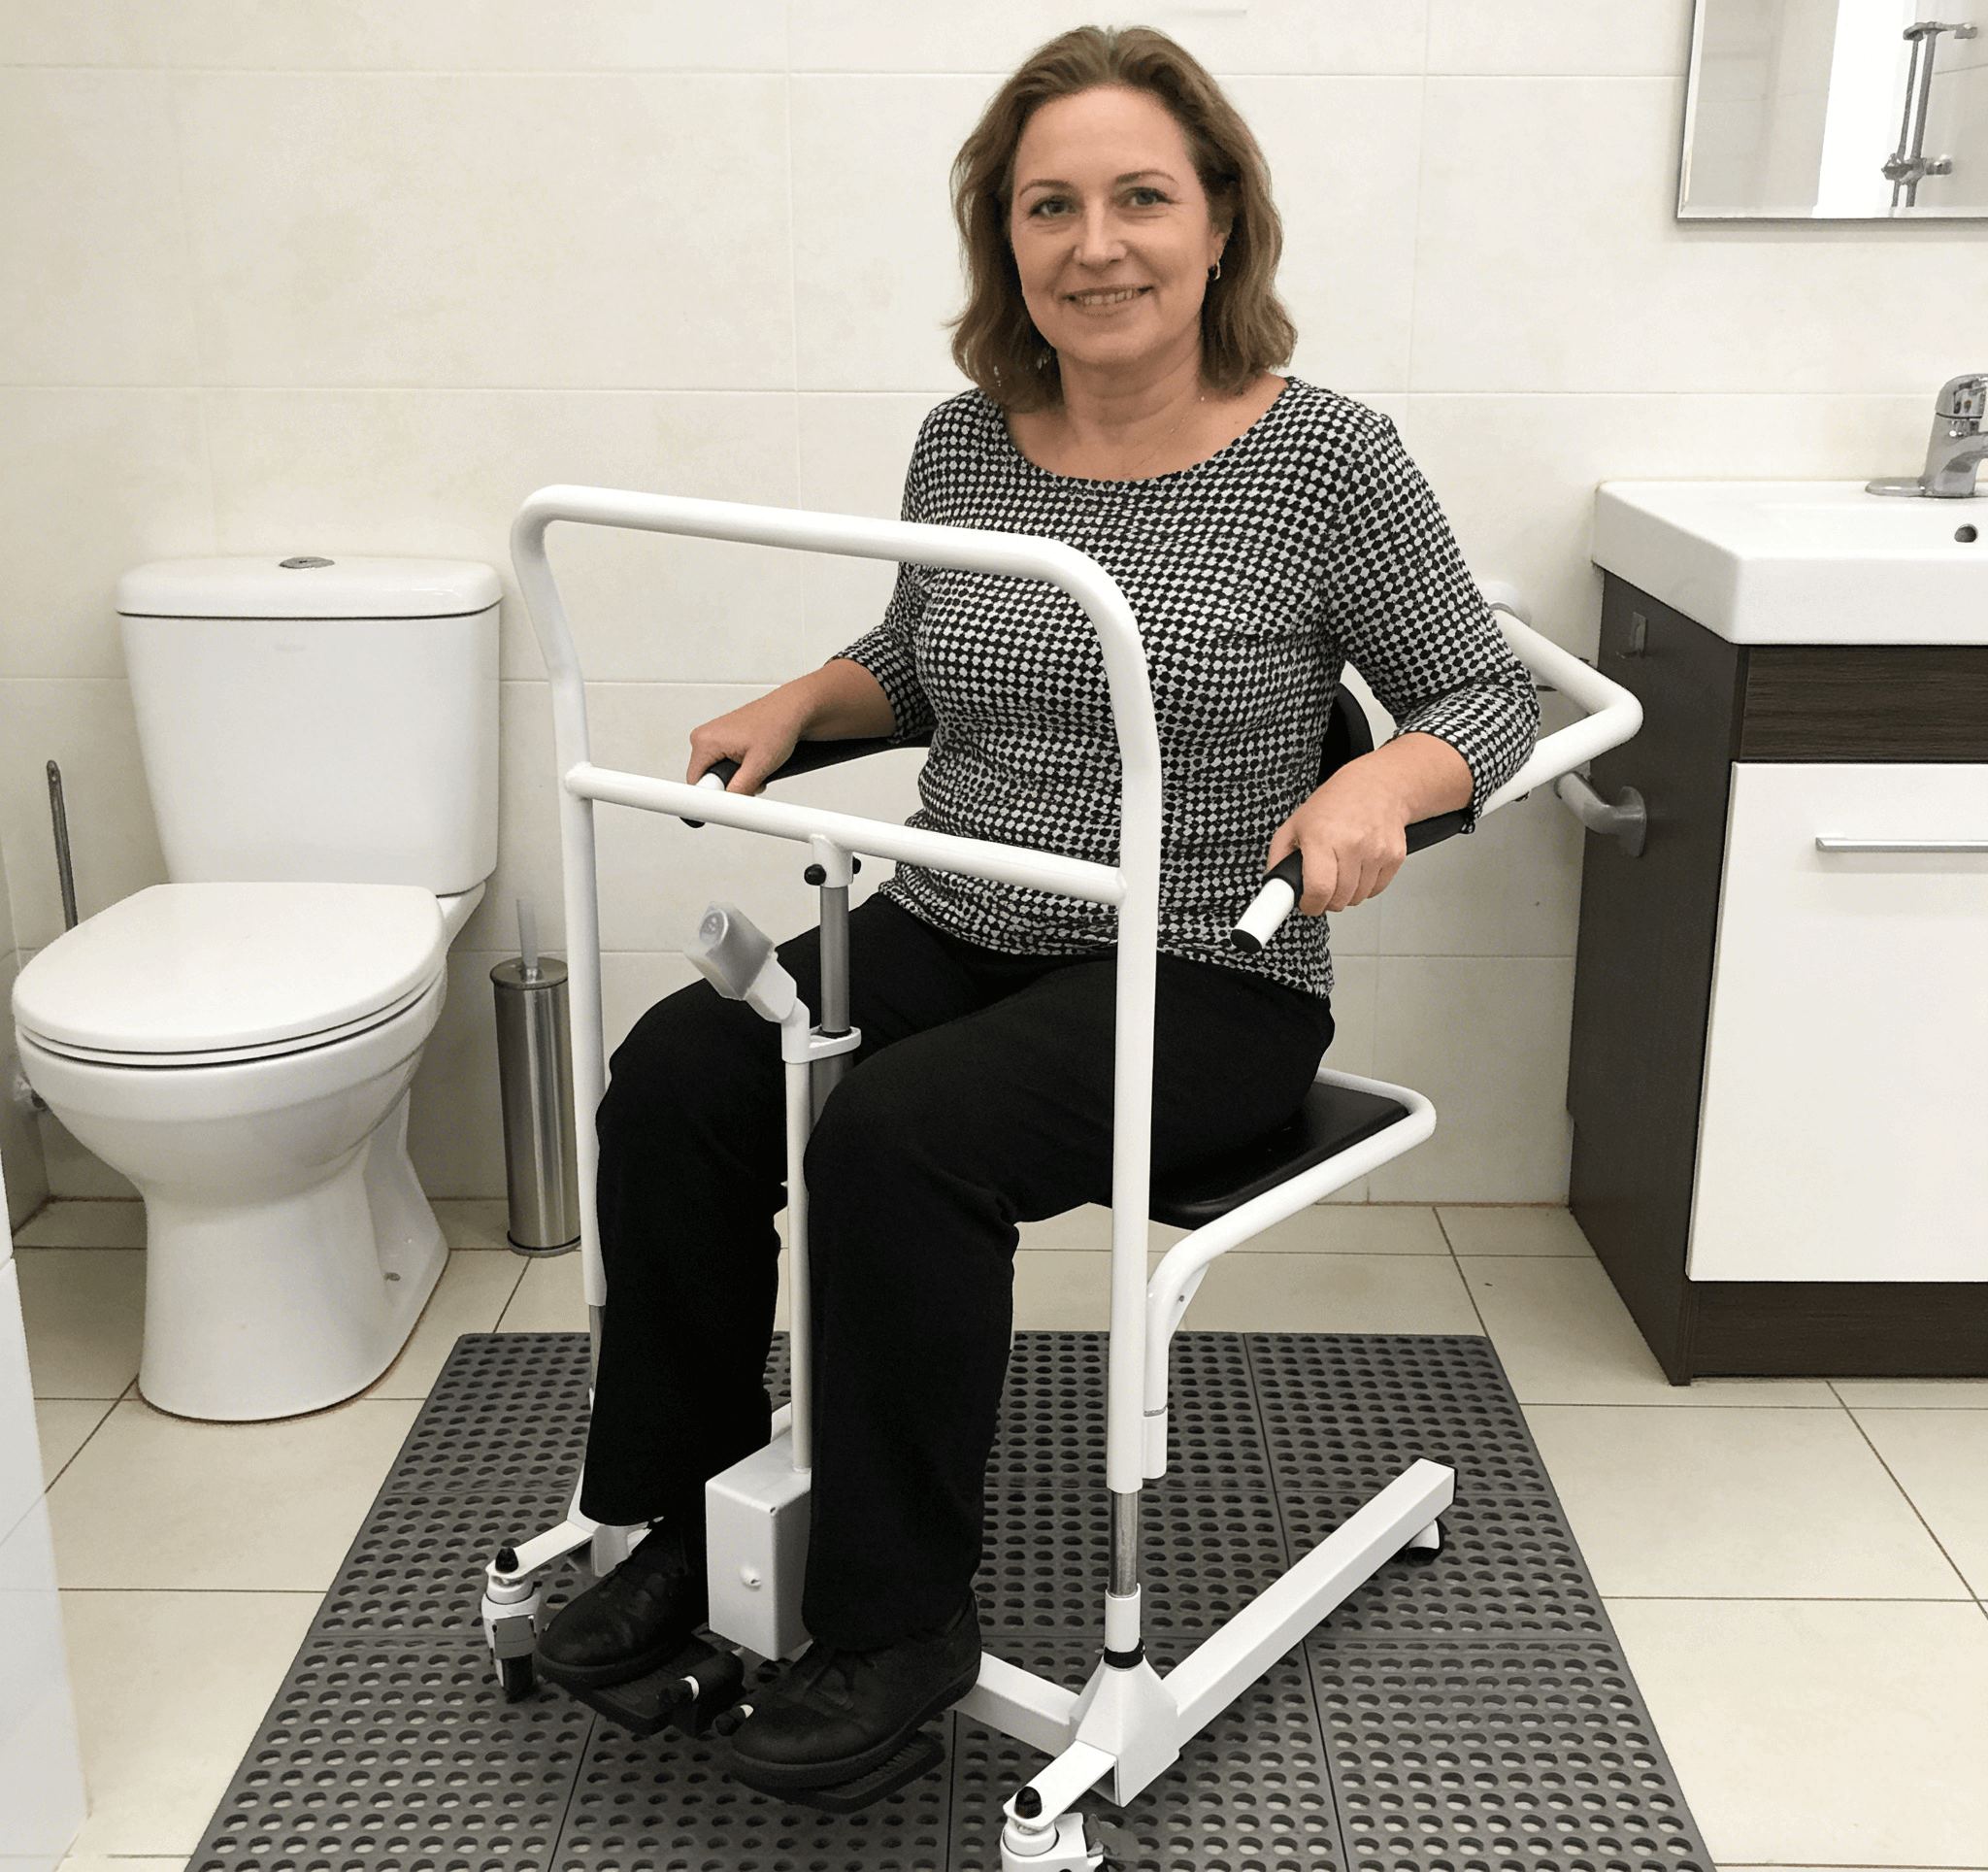
Position: Move the lift to a position directly above the target location (e.g., wheelchair, toilet, sofa).
Step 6: Lower Safely
Operate the lowering function slowly to place the care recipient smoothly and accurately into the target seat.
After confirming they are seated securely and comfortably, first detach the hooks, then carefully pull the sling out from under them.
IV. Key Safety Precautions for Home Use
Never Overload: Strictly adhere to the equipment’s weight limit.
Never Leave Unattended: Caregivers must never leave the care recipient alone while they are suspended by the lift.
Regular Maintenance: Inspect the sling, hooks, and mechanical components regularly. Perform maintenance as recommended by the manufacturer.
Professional Training: Before using the lift for the first time, be sure to receive on-site training from a nurse, therapist, or equipment supplier.
Inspect the Sling: Check the sling before each use; replace it immediately if any damage is found.
Skin Check: The sling should not come into direct contact with the skin—there should be clothing in between. After use, check the care recipient’s pressure points for redness or damage.
V. Overcoming Common Challenges in Home Use
Narrow Spaces: Choose a model with a U-shaped base or telescoping boom. Before transfers, remove unnecessary furniture (e.g., bedside tables).
Carpeted Floors: Use on low-pile carpets is usually fine, but high-pile carpets or thresholds may hinder movement. Consider using hard floor protectors to create a smooth path.
Psychological Acceptance: Some care recipients may initially feel scared or resistant. Start with short, low-height trials, patiently explain the lift’s safety and benefits for both parties, and help them adapt gradually.
Conclusion
For in-home care, the Hoyer Lift is more than just a piece of equipment—it is a “silent, capable assistant.” It embodies the concept of modern care: while caring for the recipient, also be kind to the caregiver. Through wise selection, standardized operation, and consistent safety awareness, the Hoyer Lift can significantly improve the quality of in-home care, allowing love and care to be delivered with safety and dignity.
Would you like me to format this English translation into a printable PDF document with a clear table of contents and highlighted safety warnings? This will make it easier for you to reference during daily use or share with other family caregivers.